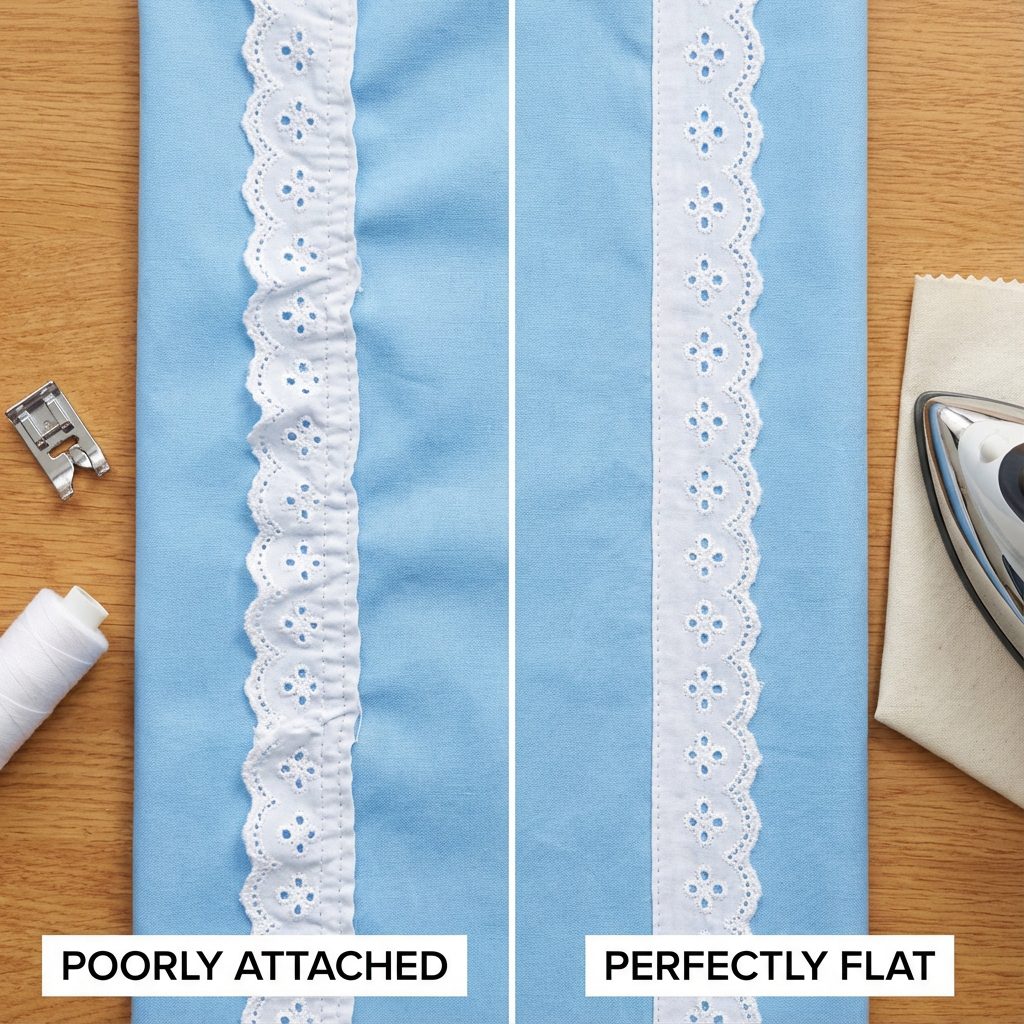
You pin the lace perfectly. You sew a straight line. Then you flip the fabric over—and there it is. Puckering along the edge, lace stretched out of shape, or delicate threads already fraying.
The fix comes down to three things: correct stitch settings, proper tension, and lace that’s actually meant to be sewn. Get these right, and lace trim goes on smoothly every time.
This guide covers both machine and hand sewing methods, plus troubleshooting for the most common problems.
Before You Start: Choose the Right Lace
Not all lace sews the same. The material determines how forgiving—or frustrating—your project will be.
| Lace Type | Difficulty | Why |
|---|---|---|
| Cotton Lace | Easy | Stable, doesn’t stretch, clean edges |
| Polyester Lace | Medium | Can fray, melts under high heat |
| Stretch Lace | Harder | Moves while sewing, needs tension control |
| Cheap Craft Lace | Frustrating | Inconsistent edges, frays easily |
Here’s a trick most beginners miss: the edge finish matters more than the pattern. Run your finger along the lace edge. If threads pull loose easily, that lace will give you problems.
Quality cotton lace has tight, sealed edges that feed through your machine without shedding fibers everywhere.
Tools and Preparation
You don’t need fancy equipment, but the right basics make a difference.
Needle: Use a fine needle—size 9/70 or 11/80. Heavy needles punch oversized holes that weaken delicate lace.
Thread: Lightweight thread in a matching color. Heavy thread creates visible stitch lines that cheapen the look.
Clips vs pins: Clips work better. Pins can distort fine lace and leave holes. If using pins, insert them perpendicular to your sewing line.
Pre-sewing prep: Press your lace flat with low heat. Wrinkled lace won’t lie flat, and those wrinkles become permanent puckers once sewn. Cotton lace handles light steam. Synthetic lace needs dry heat only.
How to Sew Lace Trim by Machine
Step 1: Position the Lace
Decide where the lace will sit:
Overlay — on top of fabric, decorative
Edge extension — scallop peeks beyond fabric
Sandwiched in seam — hidden attachment
For edge application, align the straight header edge with your fabric edge. The decorative scallop faces outward.
Step 2: Secure Without Stretching
Use clips every 2-3 inches. Keep everything flat and relaxed.
The mistake I see most often: pulling the lace taut while pinning. Any tension you add now becomes puckering later. Lace should lie completely relaxed.
Step 3: Set Your Machine
| Setting | Recommendation |
|---|---|
| Stitch | Straight or narrow zigzag |
| Length | 2.0-2.5mm (longer than normal) |
| Tension | Reduce 1-2 numbers from default |
| Speed | Slow to medium |
Why reduce tension? Standard tension pulls too hard on delicate lace, creating puckers. Looser tension lets the fabric move naturally.
Step 4: Sew with Control
Guide the fabric—don’t push or pull. Let the feed dogs do the work. Sew along the straight header edge, not through the decorative pattern.
For curves: stop with needle down, lift presser foot, pivot slightly, lower foot, continue. Small adjustments prevent bunching.
Step 5: Finish the Ends
Three options for clean ends:
Fold raw edge under 1/4″ and stitch
Apply fray check to cut edges
Overlap ends and tack down
How to Hand Sew Lace Trim
Hand sewing takes longer but gives complete control. Use it for delicate fabrics, tight curves, or when machine stitching would show.
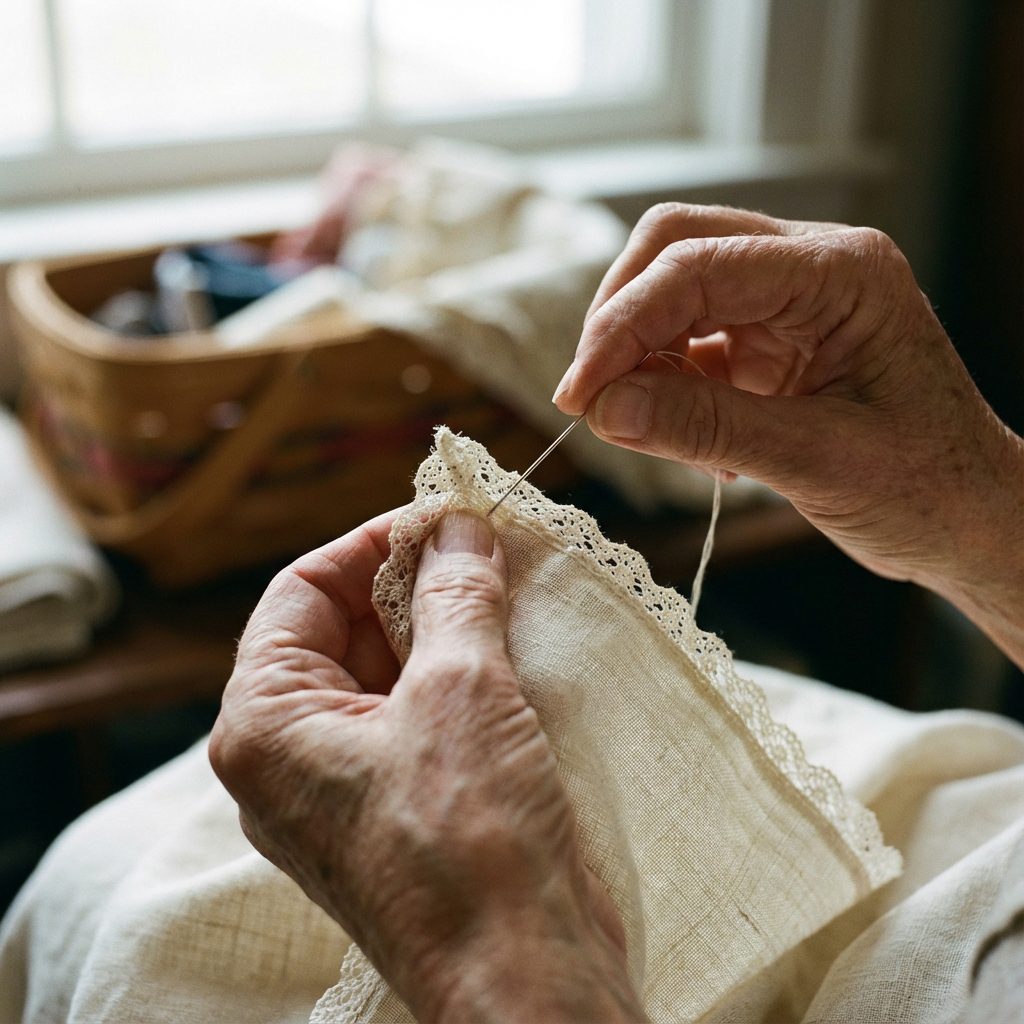
Slip Stitch (Invisible)
Best for fine garments where stitches must disappear.
Thread a fine needle with matching thread. Anchor it inside a fabric fold, pick up 2-3 threads from the lace header, then slide through the fabric fold for 1/4″. Repeat every 1/4″.
The stitches hide inside the fold. From the front, the lace appears magically attached.
Whip Stitch (Faster)
Works when stitches will be hidden by the lace pattern.
Bring needle up through fabric at lace edge, loop over the edge and back through. Space stitches 1/8″ apart.
| Method | Speed | Visibility | Best For |
|---|---|---|---|
| Slip stitch | Slow | Invisible | Fine garments, visible areas |
| Whip stitch | Fast | Subtle | Hidden edges, crafts |
Troubleshooting Common Problems
| Problem | Cause | Fix |
|---|---|---|
| Puckering | Tension too tight, stitch too short | Reduce tension, lengthen to 2.5mm |
| Stretching | Pulling fabric while sewing | Guide gently, let feed dogs work |
| Fraying | Low-quality lace, cut edges exposed | Use fray check, choose better lace |
| Skipped stitches | Wrong needle, moving too fast | Fine needle, slow down |
Puckering is almost always a tension issue. Your machine is pulling too tight, gathering fabric as it sews.
Stretching happens when you drag the fabric through. Keep your hands light—guide, don’t pull.
Fraying usually means lace quality problems. Cheap lace has loose edges that fall apart when needles punch through. The real fix is better lace.
Why Lace Quality Matters
Here’s what I’ve learned from working with manufacturers: cheap lace costs more in the long run.
Budget lace has loose weave and inconsistent edges. Every meter creates tiny problems—threads catching, edges fraying, patterns misaligning. Across a production run, those problems multiply into serious losses.
Quality cotton lace has tight, consistent construction. The header edge feeds smoothly. The pattern stays intact. Less rework, fewer rejects, faster production.
When sourcing, check the edge finish first. Pull gently on border threads. If they release easily, that lace will cause problems. If the edge holds firm, you’ve found lace built to be sewn.
FAQs
What stitch is best for sewing lace trim?
Straight stitch for stable cotton lace. Narrow zigzag (1.0-1.5mm width) for stretch lace or when seams need to flex.
Do I need a special needle for lace?
Yes. Fine needle (9/70 or 11/80) creates smaller holes that don’t weaken lace structure. Standard needles accelerate fraying.
How do I sew lace trim around corners?
Stop with needle down at the corner. Lift presser foot, pivot fabric, lower foot, continue. For sharp corners, fold lace into a small miter and tack down.
Can I sew lace trim without a sewing machine?