Lacemaking is the art of creating delicate, openwork fabric by weaving and twisting threads together.
This isn’t just a craft. It’s a skill that’s been passed down for over 500 years.
And here’s the good news: you can learn it.
Cotton thread is the perfect starting point. It’s affordable, forgiving, and produces beautiful results.
In this guide, I’ll show you exactly how to make cotton lace from scratch — step by step, with no fluff.
Let’s begin.
What You Need Before You Start
There are three main lacemaking techniques:
-
Bobbin lace — threads woven on a pillow using weighted bobbins
-
Needle lace — stitches built up with a single needle
-
Crochet lace — loops created with a hook
This tutorial focuses on bobbin lace.
Why? It’s the most versatile technique and produces the classic lace patterns you see on heirloom pieces.
And cotton thread? It’s the best choice for beginners — easier to handle than linen, more affordable than silk.
Lacemaking Supplies Checklist
Before you start, gather these essentials:
Must-Have (5 items):
| Item | Purpose | Budget |
|---|---|---|
| Lace pillow | Work surface for pinning | $15-30 |
| Bobbins (12-24) | Hold and weight your threads | $10-20 |
| Lace pins | Secure your pattern | $3-5 |
| Cotton thread (Size 10) | Your lace material | $5-10 |
| Beginner pattern | Your roadmap | Free online |
Optional but helpful:
-
Bobbin rack (keeps threads organized)
-
Magnifying lamp (for detailed work)
Total starter budget: $30-50
You can find quality in various weights to match your project needs.
How to Make Cotton Lace: Step-by-Step Tutorial
This is where the real work begins.
Follow these 7 steps to create your first piece of cotton lace.
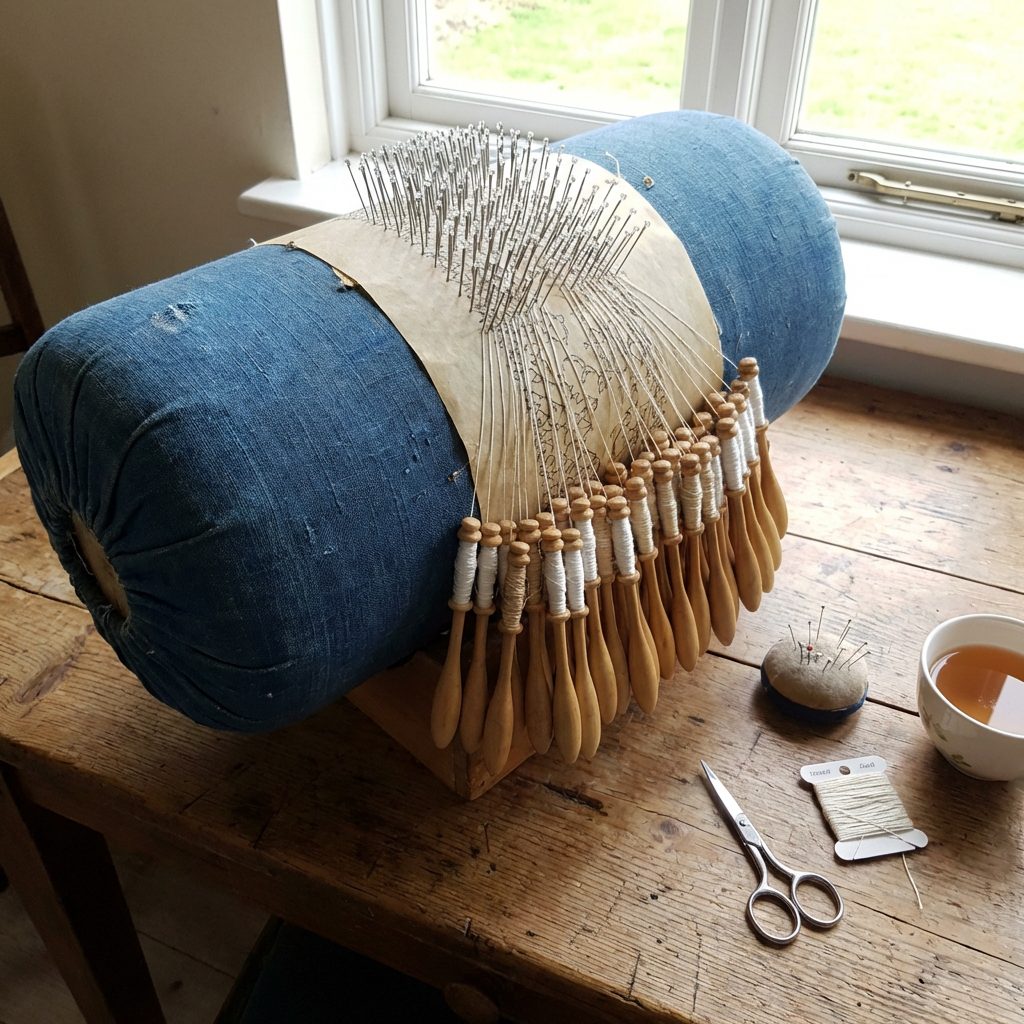
Step 1 — Set Up Your Lace Pillow
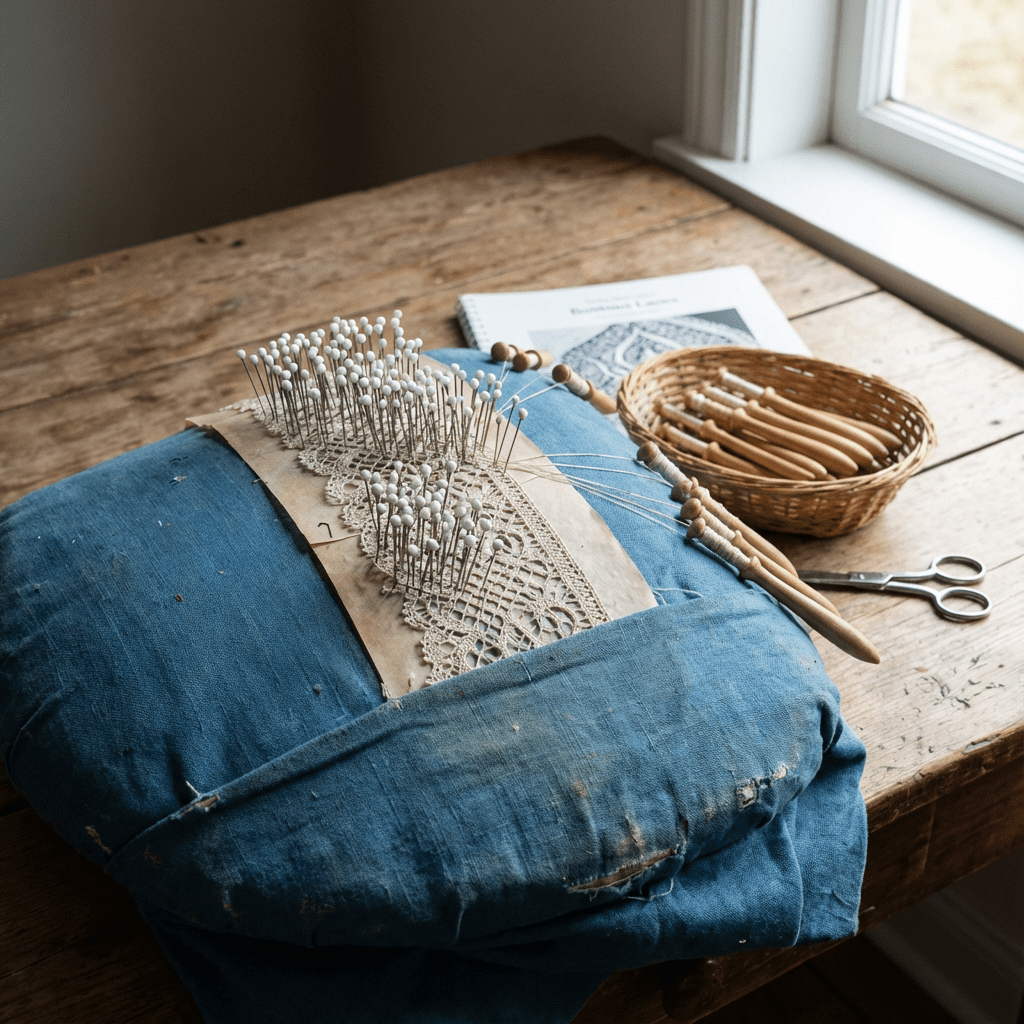
Your pillow is your workspace. Get this right, and everything else becomes easier.
What to do:
-
Place your pillow on a table at a comfortable height
-
Angle it slightly toward you (about 30 degrees)
-
Make sure it doesn’t slide — use a non-slip mat if needed
Key point:
The pillow must be firm. If it’s too soft, your pins won’t hold and your lace will shift.
A traditional bolster pillow works best for beginners. Flat pillows are harder to manage.
[Image: lace pillow setup on table, angled toward viewer]
Step 2 — Wind Your Bobbins
Each bobbin holds one thread. For a basic pattern, you’ll need 8-12 bobbins.
What to do:
-
Cut your cotton thread — about 1.5 meters per bobbin
-
Secure the end in the bobbin’s notch or hole
-
Wind the thread around the neck of the bobbin
-
Leave about 15cm hanging free
Key point:
Wind with consistent tension. Not too tight, not too loose.
Too tight? The thread won’t release smoothly.
Too loose? It will unwind on its own and tangle.
Pro tip:
Wind all your bobbins before you start. Stopping mid-project to wind more breaks your rhythm.
[Image: hands winding cotton thread onto wooden bobbin]
Step 3 — Pin Your Pattern
The pattern (called a “pricking”) tells you where to place pins and how threads should cross.
What to do:
-
Print or trace your pattern onto card stock
-
Place it on your pillow
-
Secure the corners with pins
-
Insert pins at the starting points marked on the pattern
Key point:
Push pins in at a slight backward angle (away from you). This keeps them secure as you work.
For your first project, use a simple Torchon ground pattern. It uses straight lines and repeating motions — perfect for learning.
[Image: Torchon pattern pinned to lace pillow with starting pins]
Step 4 — Learn the Two Basic Stitches
All bobbin lace is built from just two movements:
-
Cross (C) — right thread passes over left
-
Twist (T) — right thread passes under left
That’s it. Every pattern is a combination of these two moves.
The Two Essential Stitches:
Whole Stitch (Cloth Stitch)
Sequence: Cross – Twist – Cross – Twist (C-T-C-T)
This creates a dense, woven look. Use it for solid areas in your design.
Half Stitch
Sequence: Cross – Twist (C-T)
This creates a lighter, more open texture. Use it for net-like backgrounds.
What to do:
-
Take two pairs of bobbins (4 threads total)
-
Practice the cross motion: pick up right, pass over left
-
Practice the twist motion: pick up right, pass under left
-
Combine into C-T-C-T for whole stitch
-
Repeat until the motion feels natural
Key point:
Don’t rush. Muscle memory takes time.
Spend 15-20 minutes just practicing these movements before starting your pattern.
[Image: diagram showing cross and twist hand movements with bobbins]
Step 5 — Work Your First Row
Now you’re ready to make actual lace.
What to do:
-
Hang your wound bobbins from the starting pins
-
Arrange them in pairs
-
Work from left to right (or right to left — pick one and stay consistent)
-
Make your first stitch between the first two pairs
-
Place a pin where the pattern indicates
-
Continue across the row
Key point:
Maintain even tension throughout.
After each stitch, gently pull the bobbins to tighten — but don’t yank. The threads should lie flat and smooth.
If one stitch is tighter than others, it will show in the finished lace.
[Image: first row of bobbin lace in progress, showing pin placement]
Step 6 — Continue the Pattern
With your first row complete, you’ll repeat the process row by row.
What to do:
-
Move to the next row on your pattern
-
Work the stitches as indicated
-
Place pins at each junction point
-
Check your work every 3 rows
Key point:
Rhythm matters.
Experienced lacemakers develop a flow: stitch, pin, stitch, pin.
Don’t worry if you’re slow at first. Speed comes with practice.
What to check every 3 rows:
-
Are the threads lying flat?
-
Is the tension consistent?
-
Does the pattern look symmetrical?
If something looks off, it’s easier to fix now than later.
[Image: multiple rows of cotton lace showing pattern emerging]
Step 7 — Finish and Secure Your Lace

You’ve worked your pattern. Now it’s time to finish cleanly.
What to do:
-
Work to the end of your pattern
-
Tie off each pair of threads with a small knot
-
Weave the loose ends back into the lace (2-3cm)
-
Trim excess thread close to the fabric
-
Remove pins carefully, working from top to bottom
Key point:
Hide your knots and thread ends on the back side.
A clean finish separates amateur work from quality lace.
Optional finishing:
Gently press your finished lace with a warm iron (cotton setting). Place it between two pieces of cloth to protect the threads.
This helps the lace lie flat and sets the stitches.
[Image: finished cotton lace piece removed from pillow, showing clean edges]
Why Cotton Thread Makes a Difference
Not all threads are equal.
As a manufacturer, we see the difference raw materials make every day. Here’s what most sellers won’t tell you.
Cotton vs Other Materials:
| Material | Pros | Cons | Best For |
|---|---|---|---|
| Cotton | Affordable, easy to handle, consistent | Less sheen than silk | Beginners, practice, everyday pieces |
| Linen | Strong, crisp finish | Stiffer, harder to work | Traditional European styles |
| Silk | Beautiful sheen, smooth | Expensive, slippery | Heirloom and bridal pieces |
Thread Weight Guide:
| Size | Thickness | Result | Recommended For |
|---|---|---|---|
| Size 10 | Thick | Bold, fast projects | Beginners |
| Size 20 | Medium | Balanced detail | Intermediate |
| Size 40 | Fine | Delicate, detailed | Advanced |
Start with Size 10. You’ll see your stitches clearly and progress faster.
What to Look for in Quality Cotton Thread:
-
Consistent thickness (no thin spots or lumps)
-
Smooth twist (won’t fray or split easily)
-
Colorfastness (won’t bleed when washed)
Cheap thread causes frustration. It breaks, tangles, and produces uneven lace.
For bulk orders or , working directly with manufacturers ensures consistent quality and better value.
FAQs
How long does it take to learn lacemaking?
You can learn the basic stitches in an afternoon. Making a simple bookmark takes 3-5 hours for beginners. Proficiency comes after 20-30 hours of practice.
What is the easiest lace pattern for beginners?
Torchon lace. It uses a grid-based pattern with repeating stitches. The geometric design is forgiving and teaches you rhythm.
Can I use regular sewing thread?
Not recommended. Sewing thread is too thin and weak. It will break constantly. Use thread specifically made for lacemaking — Size 10 cotton is ideal for beginners.
Where can I buy cotton lace thread in bulk?
Specialty suppliers and direct manufacturers offer the best prices for bulk orders. Look for minimum order quantities (MOQ) and request samples before committing to large purchases.